 segue User Guide
the logical choice for live performance
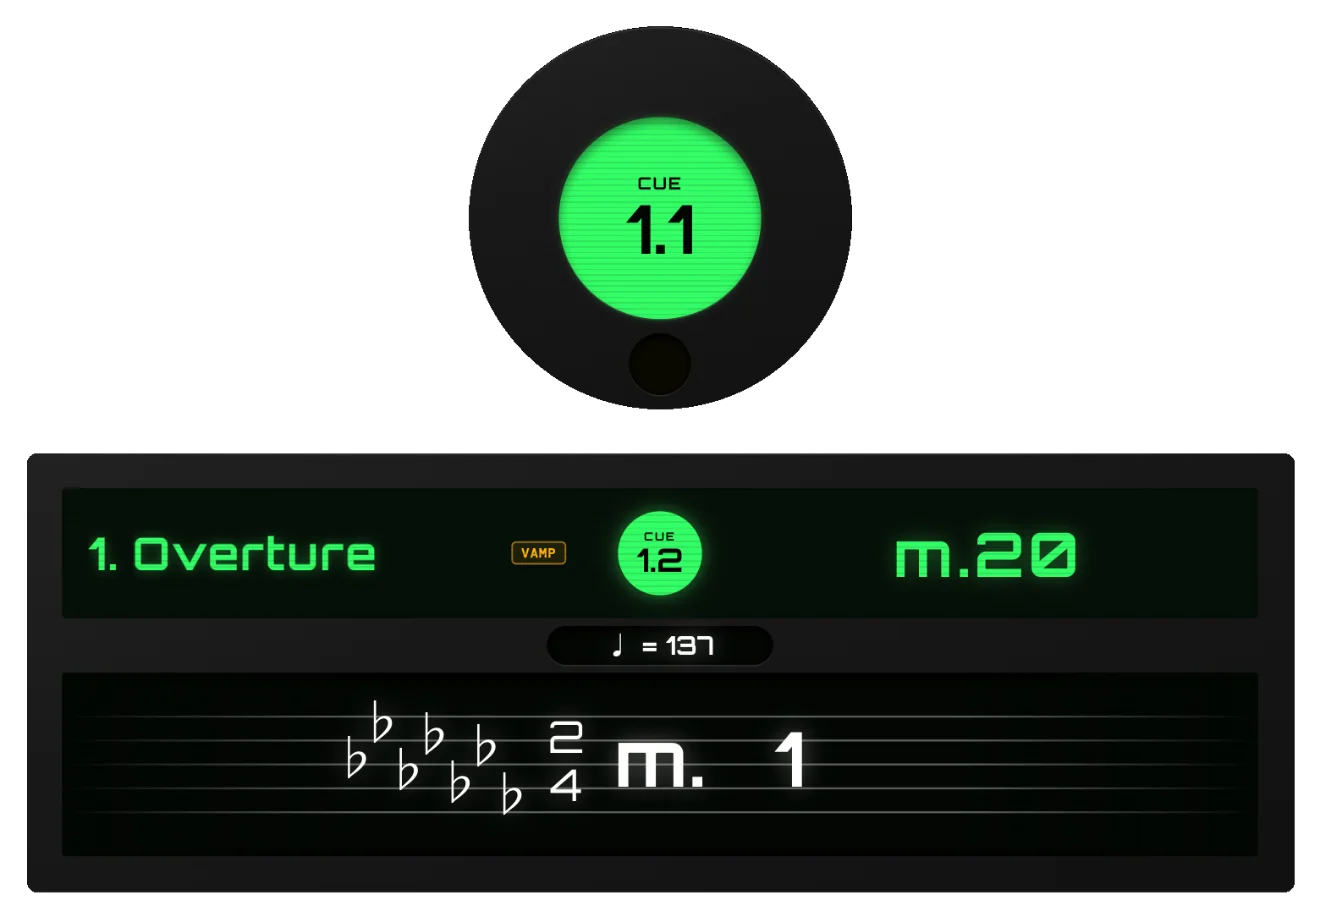
Three simple steps.
Build it in Logic Pro.
Markers = Songs in segue
Label your markers (e.g. "1a. Prologue") — this becomes the song and its title in segue.
Regions = Stems
Bounce each region as its own stem.
Click = created for a per-song export
Bounce one continuous click per song.
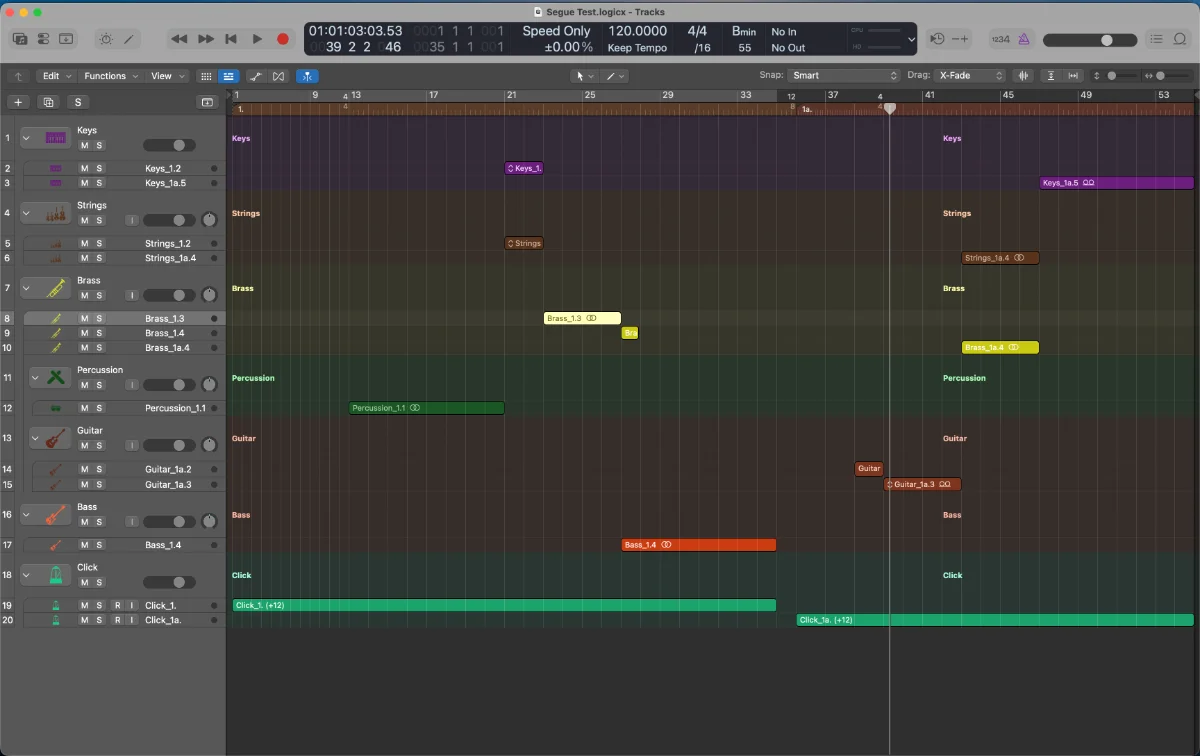
Create markers.
Add one marker per song
Marker menu → Add Marker (or Option+') at each song's downbeat on the grid.
Name it the way you want it to appear in segue
The marker's label becomes the song title on import.
Build a click track.
Assign the instrument to Klopfgeist
Open the Inspector (Shortcut I), then assign the instrument plugin to Klopfgeist. This opens the Klopfgeist plugin, where you can select the tone of the click.
Create a MIDI region at the marker's start
Create a MIDI region at the song/marker's start point, inclusive of any pickup beats.
Build the click to the grid
Separating strong beats by an octave is a good starting place.
Assign the patches in segue.
Settings → Audio Patches
Confirm your channel strip names before importing the stems.
Optional: a rig or channel numbers
Assign a rig or specific channel numbers ahead of time, if you'd like.
Bounce stems for import.
Isolate, then bounce in place
Solo each stem's track for one song/cue, or select its labeled region if all cues share one track — then Bounce in Place. One file per song per cue.
Name files by song, cue, and instrument
e.g. "Brass_1a.4" — consistent naming makes drag-and-drop into segue a breeze.
Bounce as WAV
segue only reads WAV files — stems and click alike.
Import into segue.
Export the MIDI
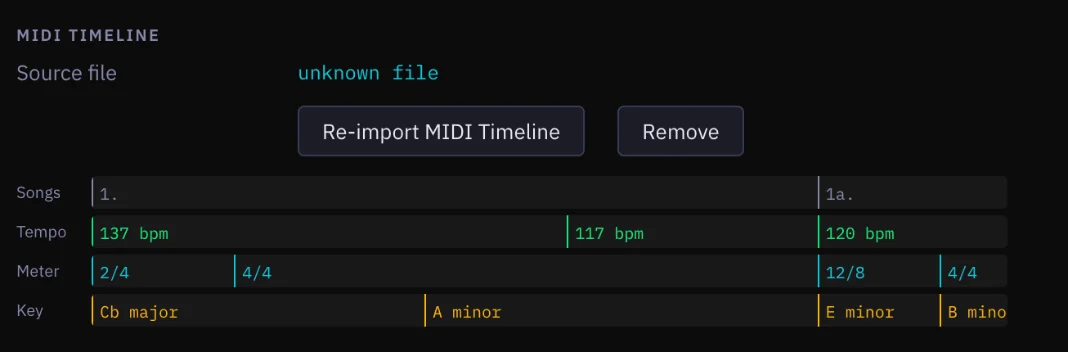
Export the MIDI from the completed show in Logic Pro into segue - this auto-creates songs in Arrange Mode.
Import the stems and click
Import the stems and click to their respective places within each song and cue.
The Transport Bar

Streamer
Toggles the master switch for the streamer sweep — the visual line that crosses the screen during a cue's last bar, warning you another cue needs firing.
Mix + Click
Everything the audience would hear sums into one stereo submix, and your monitor carries the click plus however much of that submix the blend control dials in.
Screen Flash
Off by default. When on, the whole screen gives a brief white flash every time GO actually fires a cue — a visual confirmation GO registered.
Back / Forward
Steps to the previous or next cue.
Stop / Play
First press pauses in place; press again to resume, or Stop again for a real stop.
GO
Fires the armed cue, instantly.
Eject
Exit to Arrange Mode.
Tempo Flash
On by default. A continuous, subtle pulsing glow around the edge of the screen.
Mixer
Opens the mixer panel (same as shortcut X).
Settings
Opens Settings.
Just got easier.
Drop a cue on the fly
Add a new cue mid-run without stopping playback, right from Perform mode.
Adjust after the fact
Reposition or rename it afterward from the cue inspector.
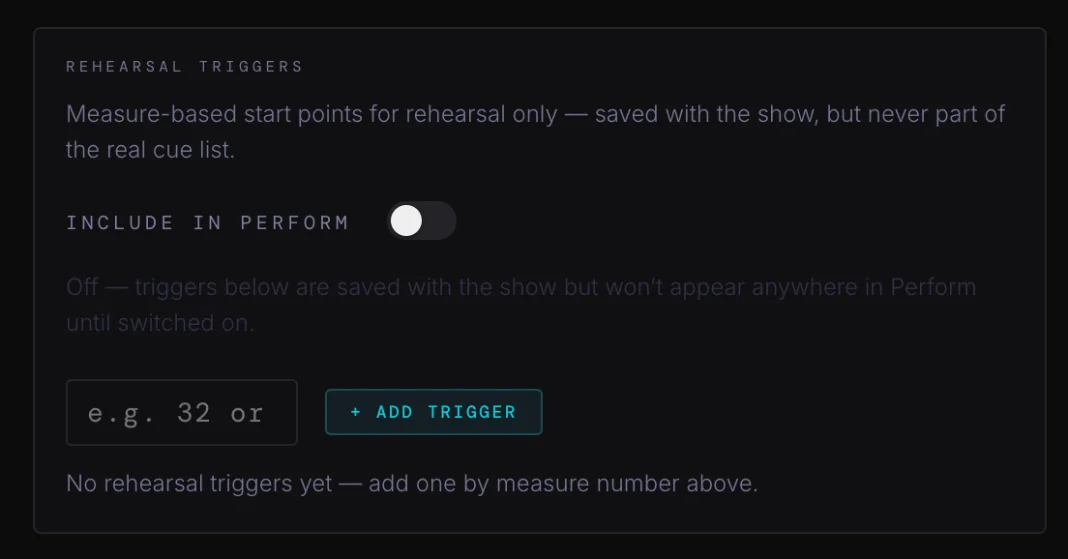
Arrange
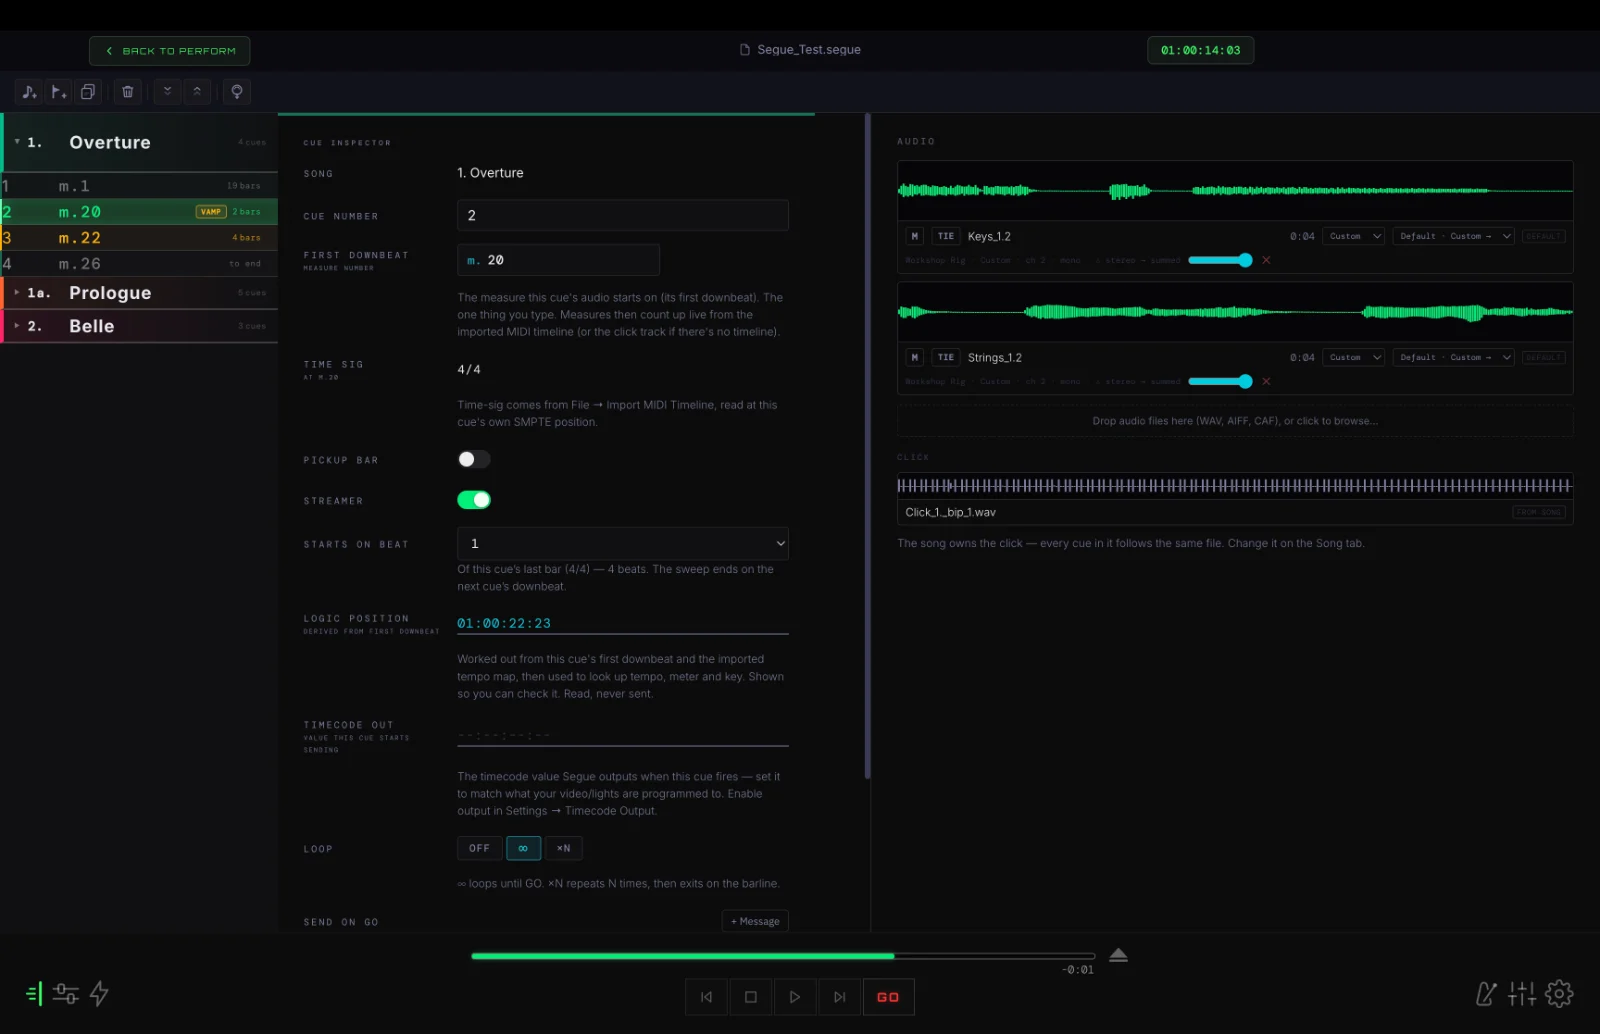
This is where the show gets built. Songs and cues live in the sidebar; the Cue Inspector sets each cue's downbeat, pickup, loop, on-end behavior, timecode, and Send on GO messages. The Audio Inspector shows a real waveform per stem — click one to drop a play-from marker.
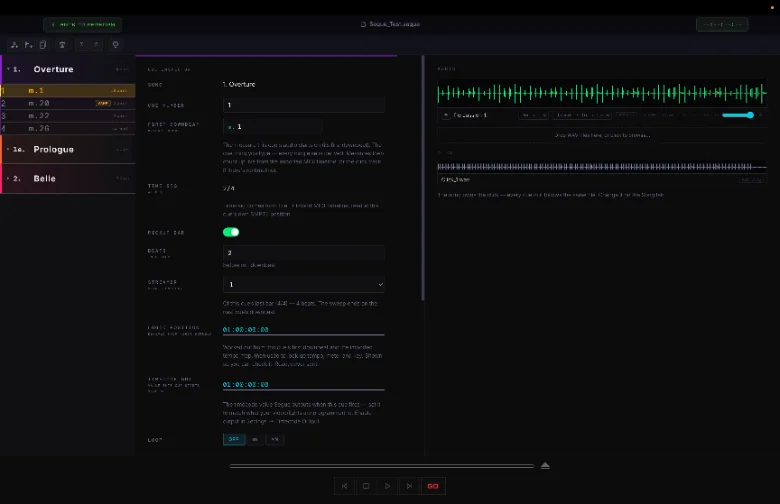
Matching your score
Set First Downbeat
In the Cue Inspector, type the measure number from the printed score where this cue's audio starts.
Everything else follows
Meter, key, and every later measure number are derived from that one entry.
Perform
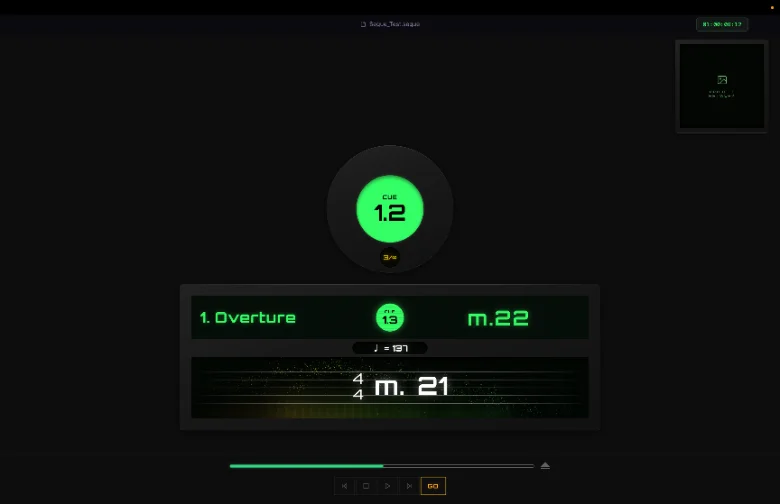
GO fires the armed cue instantly. Infinite loops vamp until GO; ×N loops exit automatically on the right bar. MIDI Learn maps any transport control to a controller note.
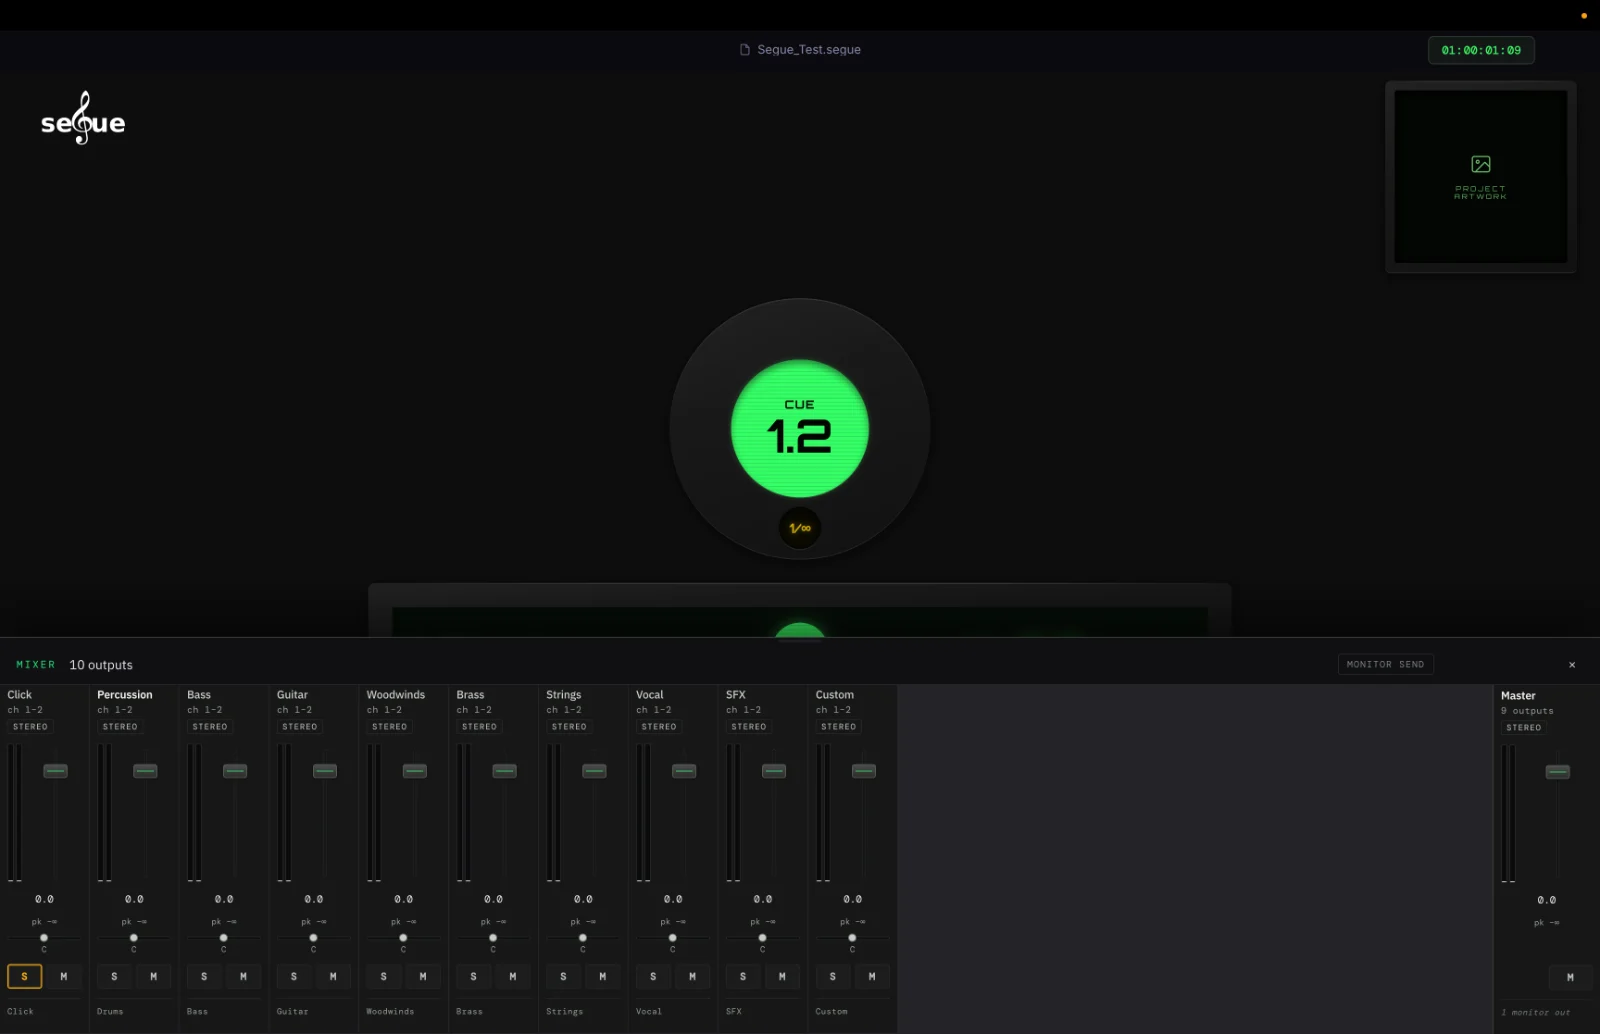
Mixer
One strip per active output plus monitor send and master. Mix + Click collapses the mixer to just two strips.
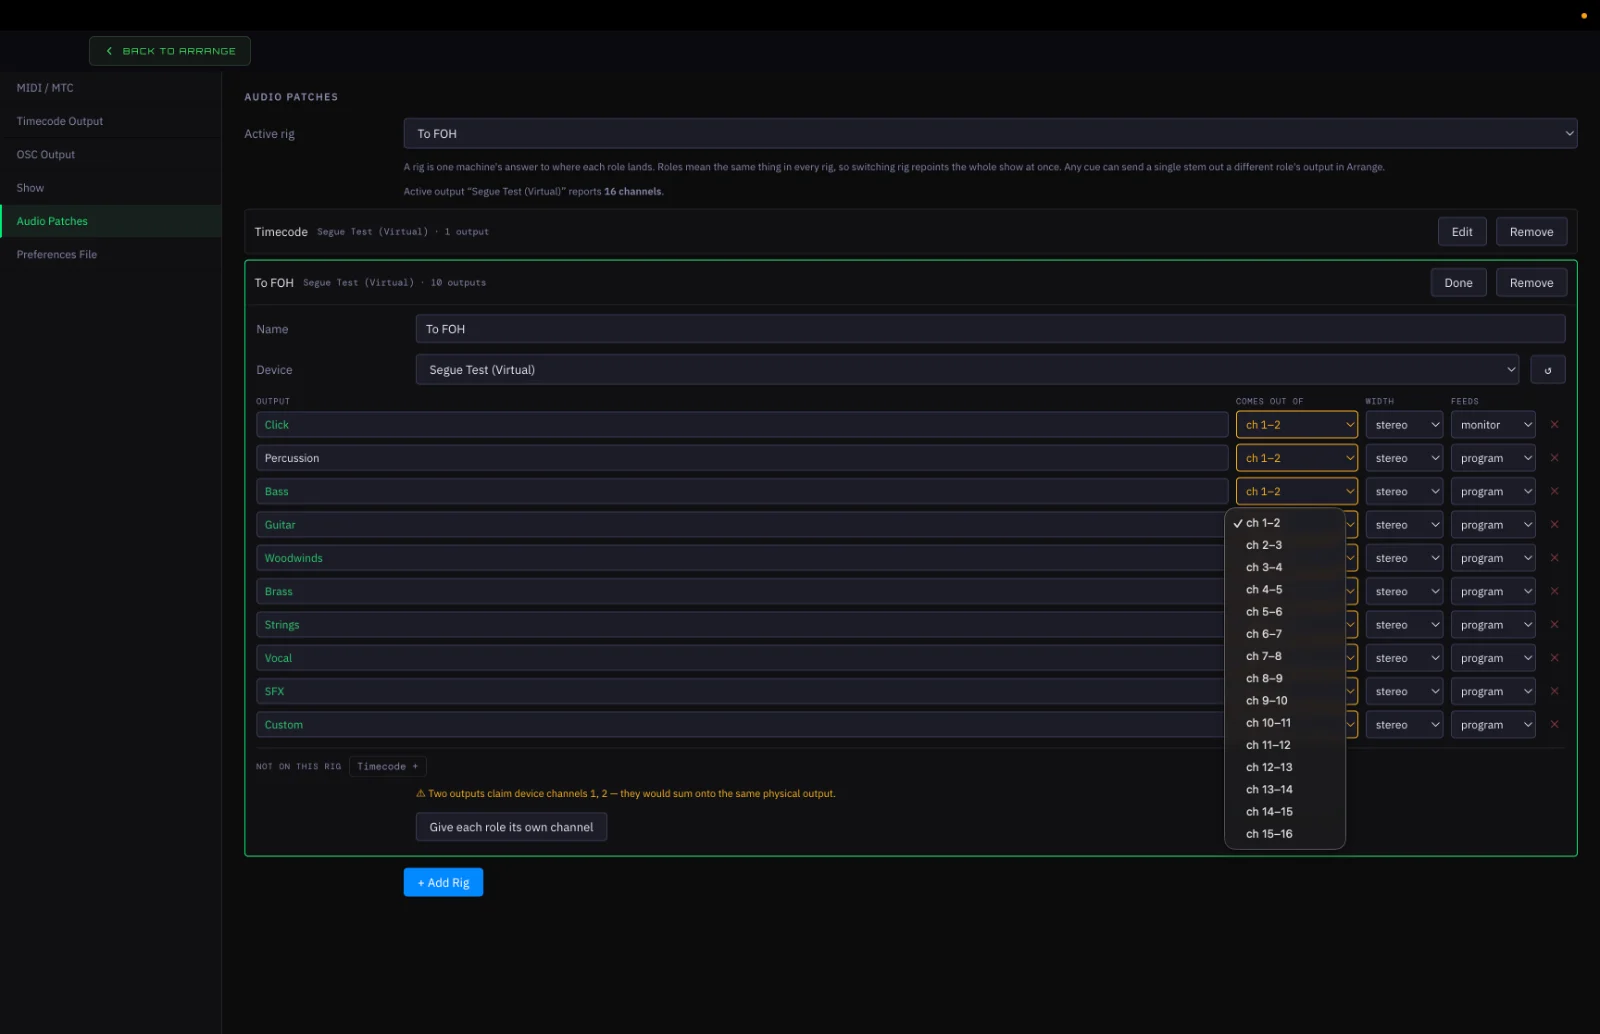
Audio Routing
A rig maps buses to channels; only one rig is active at a time, so switching rigs repoints the whole show's outputs.
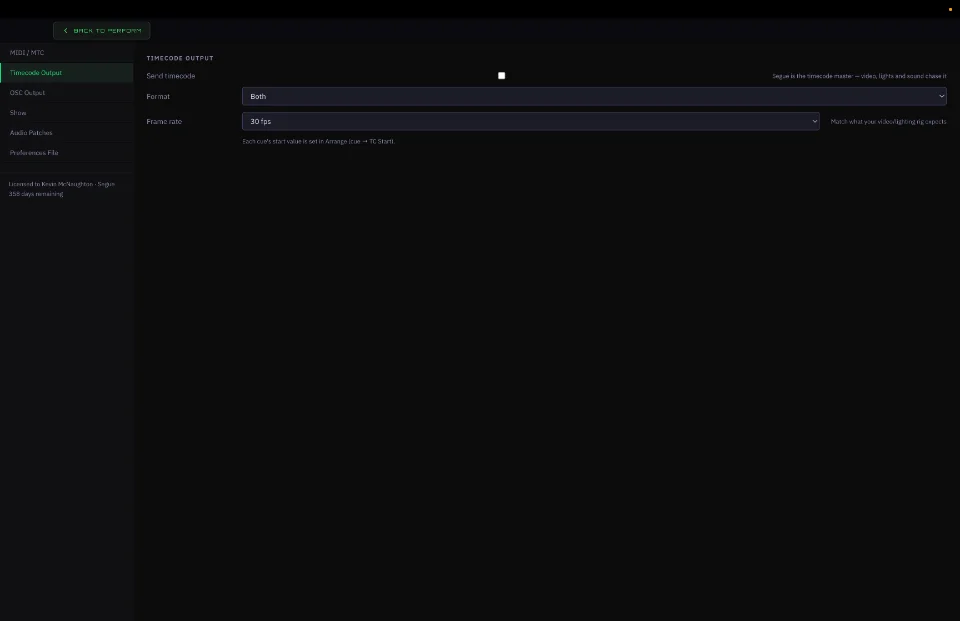
Timecode Output
segue is the master
It sends timecode out and never receives or follows any — video and lighting consoles chase segue.
Turn it on in Settings → Timecode Output
Choose LTC, MTC, or Both, and match the frame rate to your rig. LTC needs a three-channel audio interface (its own channel 3); MTC needs a MIDI output port in Settings → MIDI.
Set each cue's Timecode Out
In the Cue Inspector — the value segue starts sending the instant that cue fires.
Not the same as Session start TC
That's a one-time import value (Settings → Show) that only lines up your Logic session's bar one. A running readout lives in the titlebar at all times.
For technical support - [email protected]